docs and manuals
No one reads them, but they’re here just in case!
HVAC Installation
1. Choose the Right Placement
Locate the supply side (outflow) of your HVAC system—this is where the treated air exits.
Ideal placement is on the main supply duct, as close to the air handler as possible, NOT BEFORE, to ensure even scent distribution throughout your space.
Do not install in the air intake.
2. Mount the Diffuser Unit
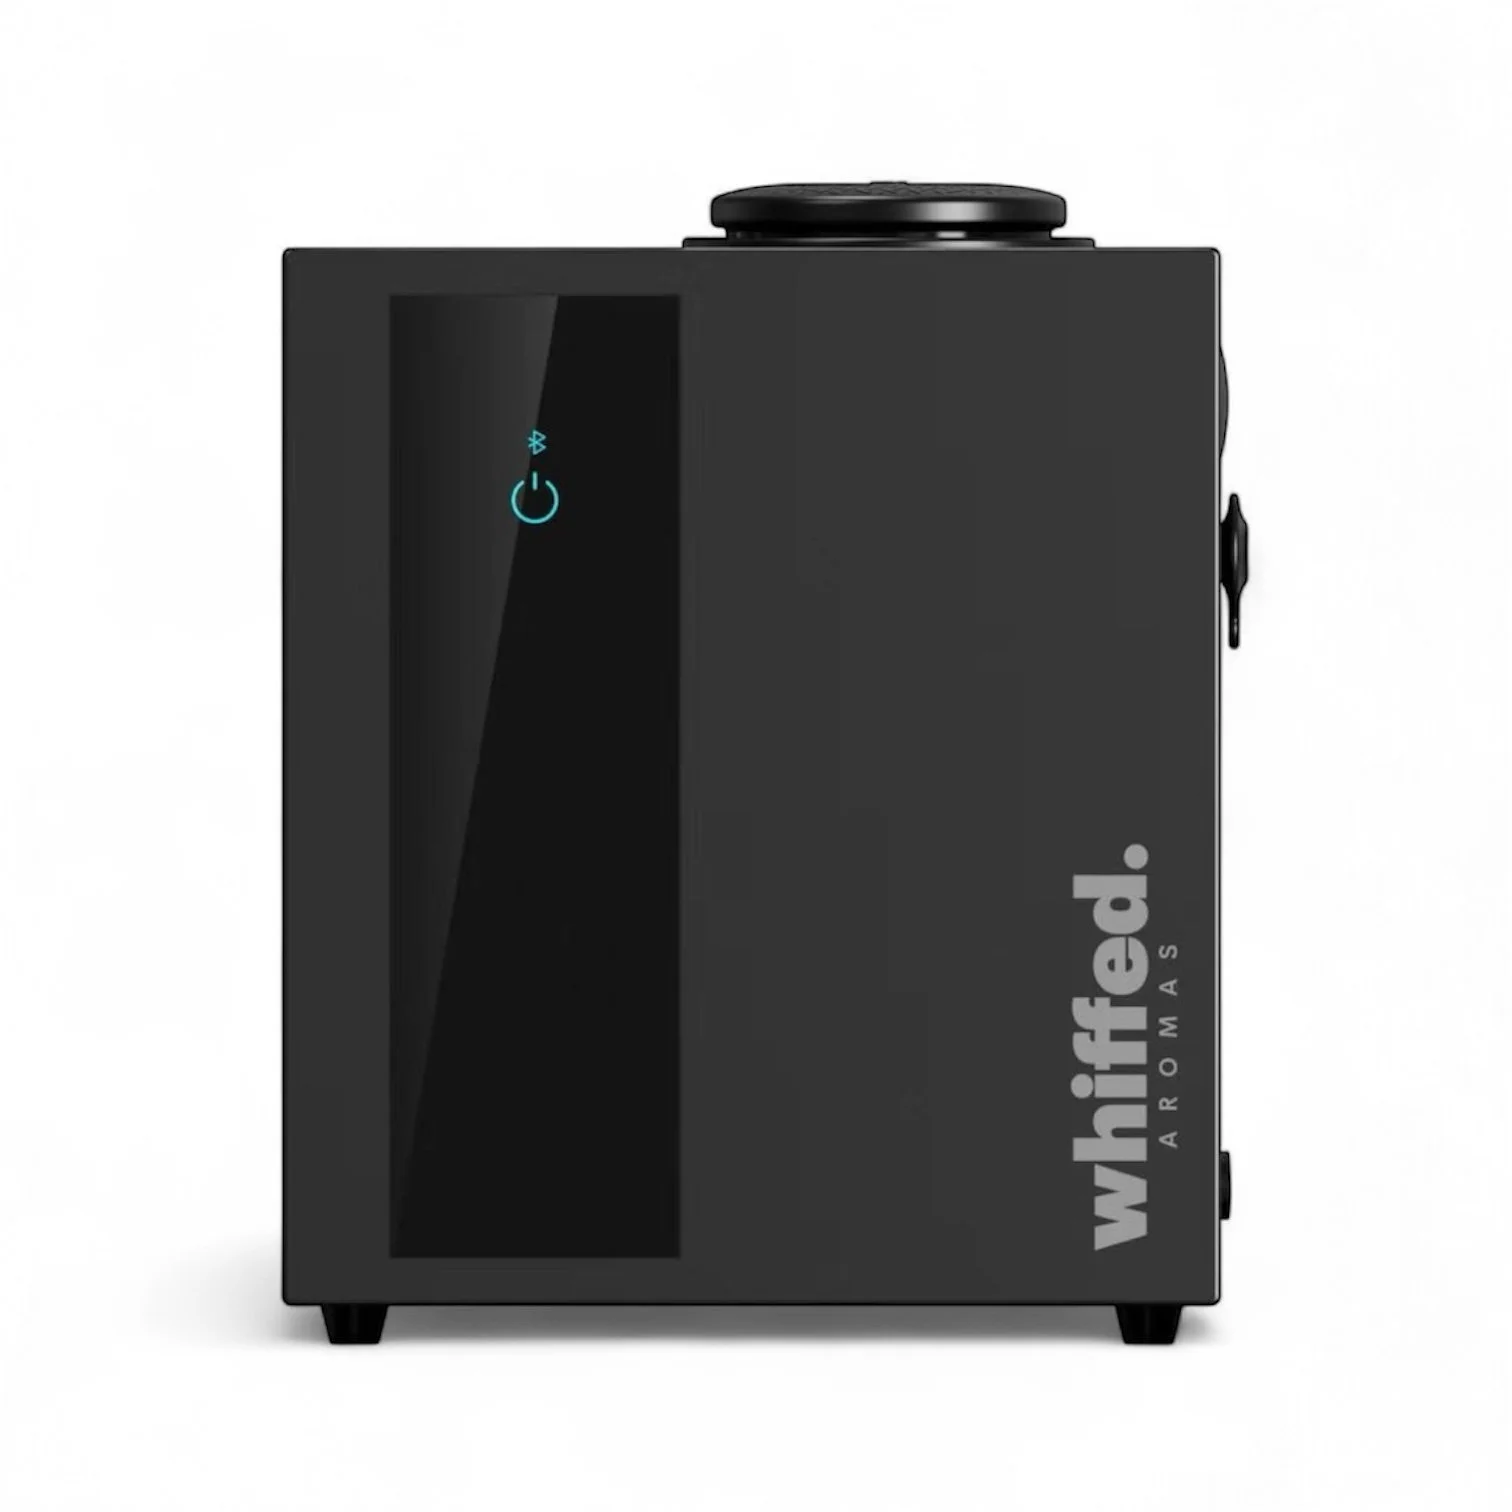
Secure the diffuser near the HVAC duct using wall mounts or brackets provided.
Make sure the unit is level and accessible for refilling and maintenance.
3. Drill the Diffuser Connection Hole
Using a drill and hole saw (usually ¼" to ½"), make a hole in the supply duct.
Carefully insert the scent output nozzle (or tubing) into the hole, ensuring a snug fit.
Use metal tape or a rubber grommet to secure the connection and prevent air leaks.
4. Connect Tubing
If your diffuser uses external tubing, connect it from the diffuser’s output nozzle to the duct hole.
Keep tubing as short and straight as possible for optimal performance.
5. Power the Unit
Plug the diffuser into a power source.
Some systems may be hardwired—consult a technician if needed.
6. Set Your Scenting Schedule
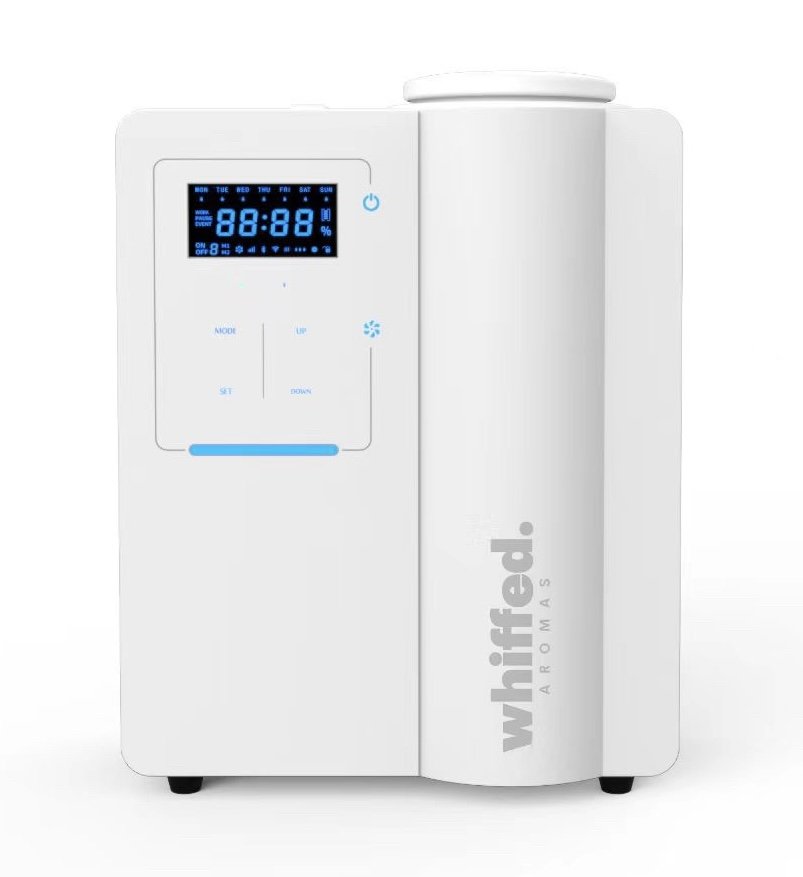
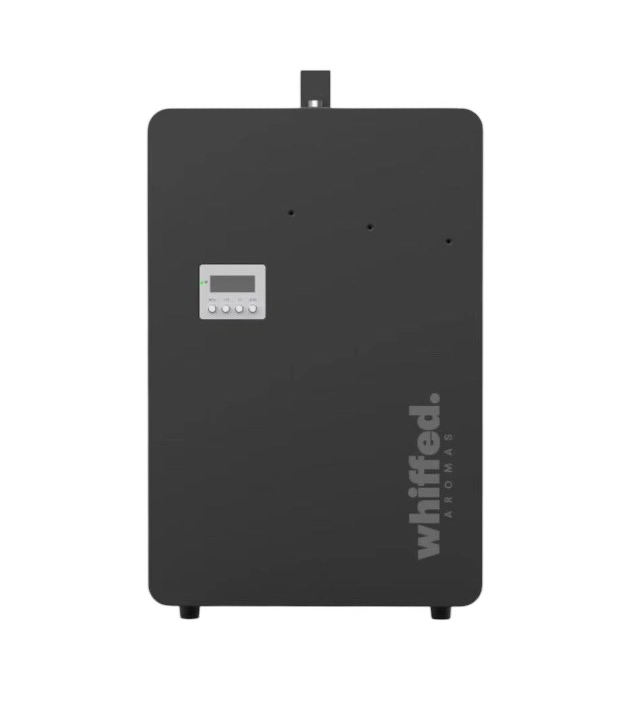
Use the control panel or mobile app to program your desired scenting intervals, intensity, and schedule.
For best results, align scenting with peak airflow times.
7. Test the System
Turn on your HVAC system and run the diffuser.
Walk through various rooms to ensure the fragrance is evenly distributed.
Adjust intensity settings as needed.
Maintenance Tips:
Refill the oil reservoir when low—only use approved fragrance oils.
Clean the diffuser nozzle and tubing monthly to prevent buildup. Use 75% or higher isopropyl alcohol and run it for 10 mins to clear the nozzle.
Check your schedule settings seasonally as HVAC use changes.


